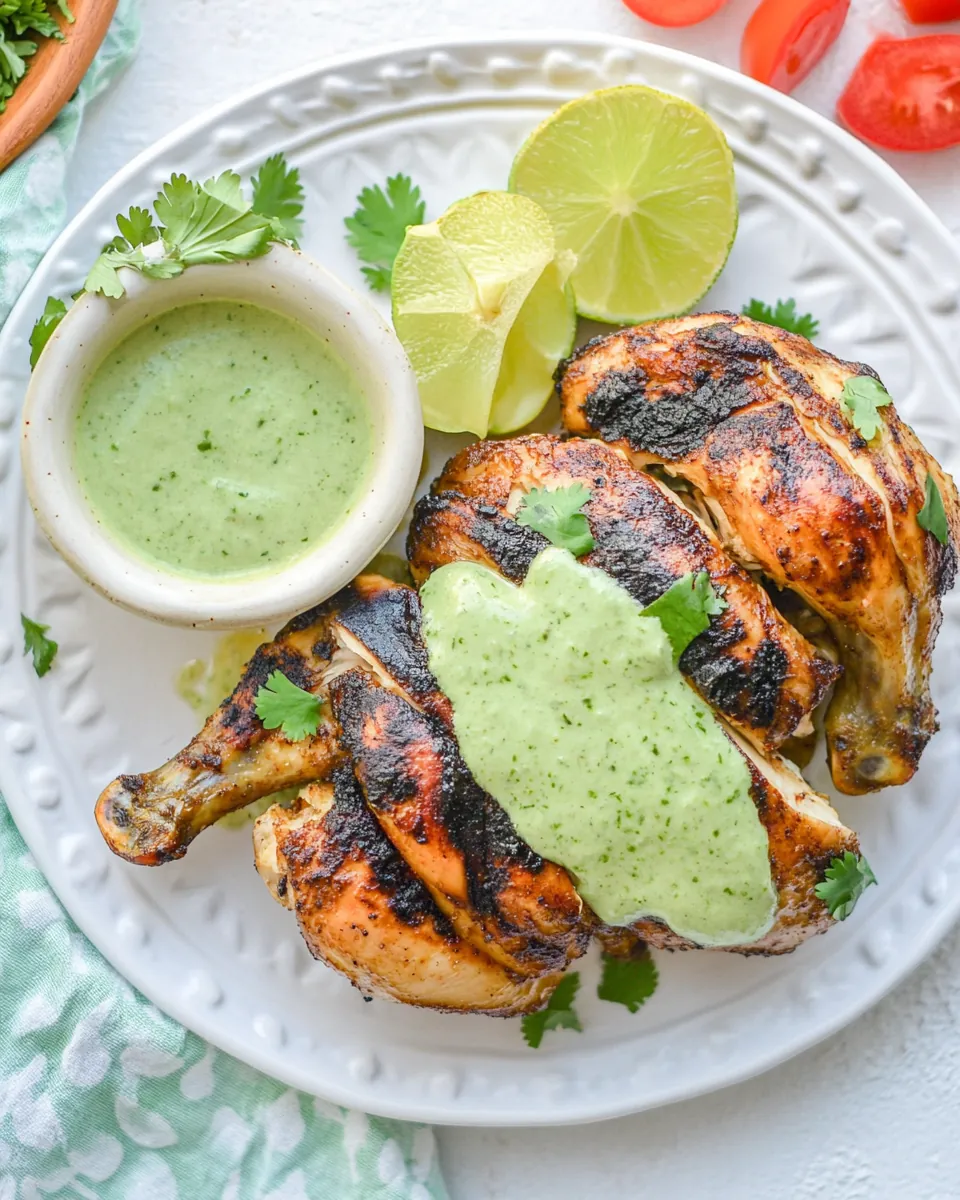
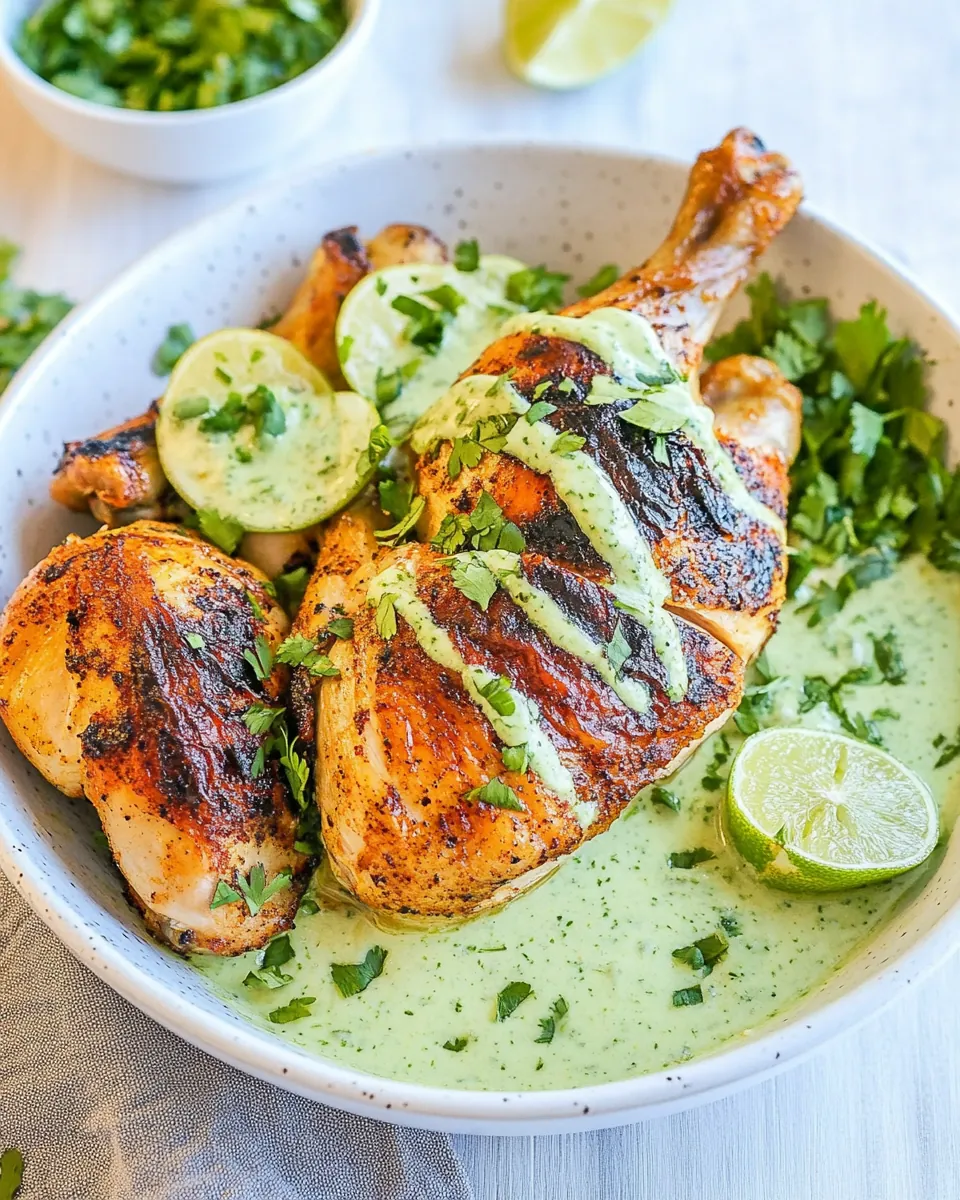
Peruvian Chicken
When I think of comfort food, nothing quite compares to Peruvian Chicken. Growing up, my family would often gather around the table, and the centerpiece was always a beautifully spiced, roasted chicken. The aroma wafting through the air was irresistible, making everyone eager to dig in. The moment I learned to make Peruvian Chicken, it transformed our family gatherings. I remember the first time I cooked it for my friends; they couldn’t believe how juicy and flavorful it turned out! The vibrant combination of spices creates a taste that’s not just good—it’s unforgettable. This dish was a celebration of love, flavor, and memories, and I can’t wait for you to experience it too.
The Best Parts of This Peruvian Chicken
There’s so much to love about Peruvian Chicken. From the spices to the way it brings people together, let’s explore why this dish deserves a special place in your kitchen.
1. Bold Flavors
What sets Peruvian Chicken apart is its rich flavor profile. The use of spices like cumin, paprika, and the unique aji amarillo paste creates a deliciously tangy and spicy marinade. Each bite offers a burst of flavor that will have your taste buds dancing.
2. Perfectly Juicy
One of the secrets to achieving that tender, juicy chicken lies in the marinating process. By spreading the marinade under the skin, you ensure the flavors penetrate deeply. This results in chicken that remains moist even after cooking. You’ll love cutting into it and seeing that succulent texture!
3. Versatile Serving Options
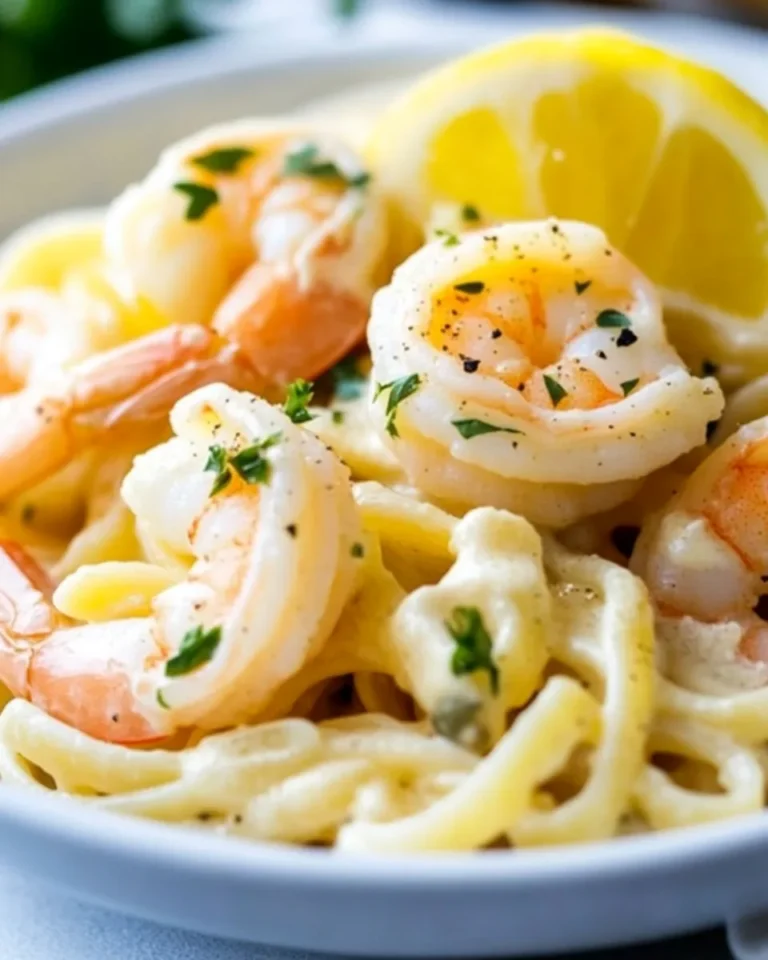
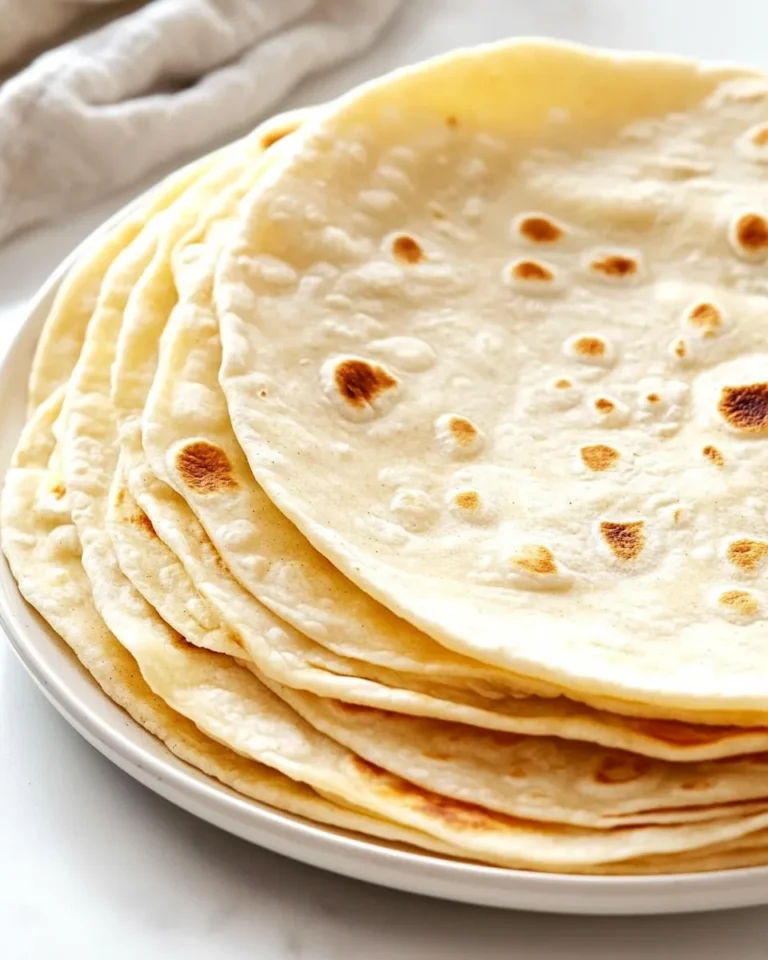
Peruvian Chicken is incredibly versatile. You can serve it with a side of cilantro lime rice, roasted vegetables, or even homemade tortillas. The possibilities are endless, making it perfect for any occasion—from family dinners to casual get-togethers.
4. Easy to Prepare
Don’t worry if you’re not a pro in the kitchen. This recipe is straightforward and requires minimal effort. With just a few ingredients and steps, you’ll have a delicious meal that looks and tastes like you spent hours preparing.
5. Social Experience
Cooking Peruvian Chicken is more than just making a meal; it’s about creating memories. Whether you’re cooking solo or involving friends and family in the process, it fosters a sense of togetherness that is hard to beat. Share stories, laughter, and of course, great food!
Pantry Staples for Peruvian Chicken
Let’s talk about the essential ingredients for Peruvian Chicken. Each ingredient plays a vital role in delivering those signature flavors. The marriage of spices, herbs, and fresh produce brings life to this dish.
- 3 cloves garlic, minced – This aromatic powerhouse provides a robust flavor that forms the base of our marinade.
- 2 tablespoons olive oil – A heart-healthy fat that helps to achieve a crispy skin while keeping the chicken moist.
- 2 tablespoons fresh lime juice – Adds a refreshing brightness that balances the spice.
- 1 tablespoon aji amarillo paste – A must-have ingredient for authentic flavor; it brings heat and a beautiful golden color.
- 2 teaspoons ground cumin – This warm spice adds depth and a hint of earthiness.
- 1 teaspoon sweet paprika – Not only does it provide color, but it also adds a subtle sweetness.
- 1 teaspoon dry oregano – A necessary herb that contributes to the dish’s aromatic profile.
- 1 teaspoon salt – Essential for enhancing all flavors.
- ½ teaspoon ground black pepper – Provides a gentle kick that complements the dish.
- 3-4 lb whole chicken, spatchcocked – The star ingredient that absorbs all the delicious flavors.
- 1 cup cilantro leaves and tender stems – A key ingredient in the sauce, providing freshness and vibrancy.
- 2 jalapeños, roughly chopped – Adds a spicy crunch to the sauce.
- 1 clove garlic – More flavor is always better, especially in the sauce.
- 1 tablespoon aji amarillo paste – Add it again for that consistent flavor in the sauce!
- 2 tablespoons olive oil – For the sauce, this will help blend everything smoothly.
- 2 tablespoons fresh lime juice – A zesty addition that brings the sauce to life.
- 1 teaspoon distilled vinegar – Gives a touch of acidity to balance the richness of the mayo.
- 2 tablespoons cotija or parmesan cheese, grated – Adds a creamy texture and salty flavor to the sauce.
- ¼ teaspoon salt – Essential for seasoning the sauce.
- ¾ cup mayonnaise – For a creamy, rich base that binds the sauce together.
The Process: How to Make Peruvian Chicken
Making Peruvian Chicken is a straightforward process that anyone can master. Here’s how you can bring this dish to your table:
- In a small bowl, combine garlic with olive oil, lime juice, aji amarillo or hot sauce, ground cumin, paprika, oregano, salt, and pepper. Mix well until all ingredients are integrated into a smooth paste.
- Next, prepare your chicken. Spatchcock it by removing the backbone to allow for even cooking. Gently loosen the skin around the breasts and thighs using your fingers, being careful not to tear it.
- Using a small spoon, spread half of the marinade paste under the skin and the other half over the skin of the chicken. This ensures that every bite will be packed with flavor.
- Place the chicken on a sheet pan and let it sit with the marinade for about 15 minutes while you preheat your oven or grill to 400°F (190°C).
- If using the oven, roast the chicken for 30 minutes, checking on it occasionally and basting it with its own juices. After 30 minutes, cook for an additional 20 minutes or until the internal temperature reaches 165°F.
- For grilling, oil your grill grates, then place the chicken breast side up over indirect heat. Cook for about 50 minutes, ensuring it also reaches that perfect 165°F.
- While the chicken is cooking, prepare your cilantro sauce. In a food processor or blender, combine the cilantro, jalapeños, garlic, aji amarillo, olive oil, lime juice, vinegar, cotija cheese, and salt.
- Blend all the ingredients until smooth, and then add mayonnaise, blending on low until just combined. Be cautious not to over-blend to maintain the emulsion of the mayo.
- Allow the chicken to rest for 10 minutes after cooking before carving. This resting period ensures that all the juices are retained.
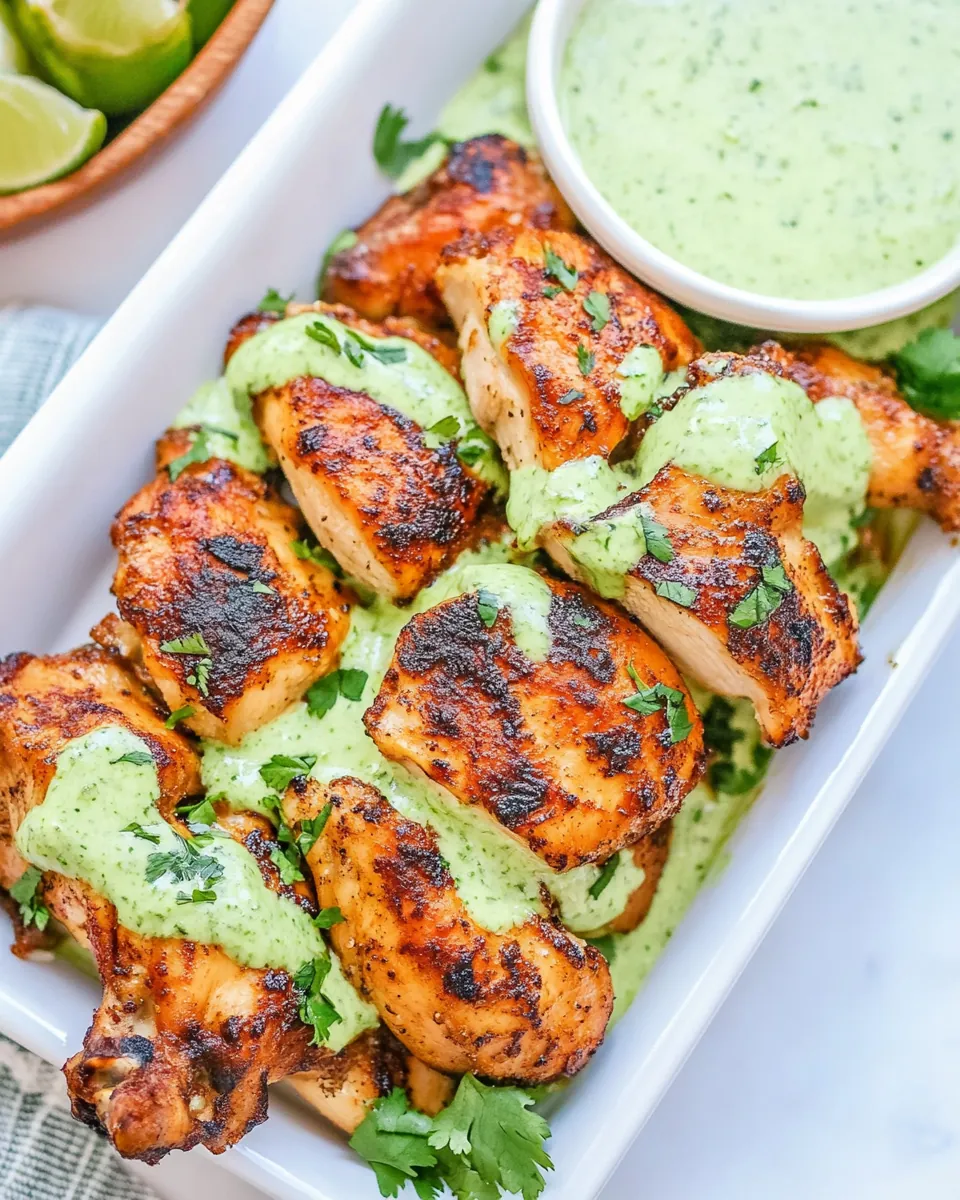
- Serve the beautifully carved chicken with the cilantro sauce, accompanied by cilantro lime rice and lime wedges on the side.
Recipe Tweaks for Peruvian Chicken
If you want to customize your Peruvian Chicken, here are some helpful tweaks to consider:
- Storage: After cooking, store leftovers in an airtight container in the fridge for up to four days. This way, you can enjoy it again in a different meal.
- Freezing: Yes, you can freeze the cooked chicken! Just ensure it’s wrapped tightly and can be stored for up to three months. Thaw it in the fridge before reheating.
- Spice Level: Adjust the heat by adding more or less jalapeños or using a different hot sauce in the marinade as per your taste preference.
- Marination Time: For even more flavor, let the chicken marinate in the refrigerator for a few hours or overnight. The longer it marinates, the more intense the flavors will be.
- Serving Style: Try serving it with different sides like quinoa, grilled vegetables, or a fresh salad to add variety.
What Matches with Peruvian Chicken
Let’s dive into some great serving ideas for your Peruvian Chicken:
- Side Dishes: Pair it with cilantro lime rice, a fresh avocado salad, or roasted sweet potatoes to complement the flavors.
- Occasions: This dish is perfect for casual dinners, family gatherings, or even special occasions. It’s sure to impress your guests!
- Seasonal Pairings: Enjoy Peruvian Chicken year-round. In summer, serve it with cold salads, and in winter, warm up with hearty roasted vegetables.
- Storage Tips: If you have any leftovers, keep them in the refrigerator for easy lunches throughout the week.
- Garnishes: Fresh lime wedges and extra cilantro make lovely garnishes that add a pop of color and flavor.
FAQ
Conclusion
Peruvian Chicken is truly special thanks to its rich flavors and the joy it brings when shared with loved ones. I encourage you to try this recipe and make it your own; you won’t regret it! Whether it’s for a family dinner or a gathering with friends, this dish will surely impress.
Peruvian Chicken
Ingredients
Equipment
Method
- In a small bowl, combine garlic with olive oil, lime juice, aji amarillo or hot sauce, ground cumin, paprika, oregano, salt, and pepper. Mix well until all ingredients are integrated into a smooth paste.
- Next, prepare your chicken. Spatchcock it by removing the backbone to allow for even cooking. Gently loosen the skin around the breasts and thighs using your fingers, being careful not to tear it.
- Using a small spoon, spread half of the marinade paste under the skin and the other half over the skin of the chicken. This ensures that every bite will be packed with flavor.
- Place the chicken on a sheet pan and let it sit with the marinade for about 15 minutes while you preheat your oven or grill to 400°F (190°C).
- If using the oven, roast the chicken for 30 minutes, checking on it occasionally and basting it with its own juices. After 30 minutes, cook for an additional 20 minutes or until the internal temperature reaches 165°F.
- For grilling, oil your grill grates, then place the chicken breast side up over indirect heat. Cook for about 50 minutes, ensuring it also reaches that perfect 165°F.
- While the chicken is cooking, prepare your cilantro sauce. In a food processor or blender, combine the cilantro, jalapeños, garlic, aji amarillo, olive oil, lime juice, vinegar, cotija cheese, and salt.
- Blend all the ingredients until smooth, and then add mayonnaise, blending on low until just combined. Be cautious not to over-blend to maintain the emulsion of the mayo.
- Allow the chicken to rest for 10 minutes after cooking before carving. This resting period ensures that all the juices are retained.
- Serve the beautifully carved chicken with the cilantro sauce, accompanied by cilantro lime rice and lime wedges on the side.
Notes
- Spatchcocking: Spatchcocking the chicken is optional but strongly recommended for even and quicker cooking.
- Resting Time: Make sure to allow the chicken to rest for at least 10 minutes before carving.
- Chilling Sauce: Chilling the green sauce in the fridge for at least 30 minutes will allow it to thicken and help the flavors develop.