Flour Tortillas
There’s something incredibly comforting about making Flour Tortillas from scratch. I still remember the first time I watched my grandmother roll out dough, her hands expertly flattening each piece into perfect circles. The aroma of freshly cooked tortillas filled the kitchen, and I couldn’t help but feel a deep connection to our family’s traditions. As I took my first bite, I was transported to a world filled with flavors, warmth, and love. Now, I carry on that tradition in my own kitchen, and every time I make Flour Tortillas, it feels like a special occasion. Whether it’s Taco Tuesday or a simple dinner, these tortillas are the heart and soul of our meals, bringing everyone together around the table.
The Reason This Flour Tortillas Is So Delicious
When it comes to Flour Tortillas, there’s a certain magic that happens when simple ingredients come together. Here are a few reasons why I absolutely adore this recipe.
Freshness You Can Taste
There’s nothing quite like the taste of freshly made tortillas. When you prepare Flour Tortillas at home, you experience the difference right away. The chewy texture and warm flavor make every bite a delight. It’s a world away from store-bought options. Plus, you can experiment with the thickness and size, tailoring them to your preference!
Simple Ingredients
Creating Flour Tortillas is an exercise in simplicity. With just a handful of ingredients like all-purpose flour, baking powder, and water, you can whip up these delicious tortillas in no time. This recipe highlights the beauty of cooking with what you have on hand, making it accessible for anyone.
Versatile and Adaptable
These tortillas are incredibly versatile! Use them to wrap up your favorite fillings, create quesadillas, or serve as a side with your meals. The possibilities are endless! You can even turn them into chips for dipping—perfect for gatherings with friends.
Perfect for Any Occasion
Whether it’s a casual weeknight dinner or a festive gathering, Flour Tortillas are always a hit. They bring a sense of home and comfort to any meal, making them a staple in our household. I love how they complement various cuisines and how they can elevate a simple dish into something special.
A Bonding Experience
Making Flour Tortillas is not just about food; it’s about the moments shared while cooking. I often involve my family, and we have fun rolling out the dough together. It sparks laughter and stories, making it a cherished experience every time we gather in the kitchen.
Pantry Staples for Flour Tortillas
The key to making perfect Flour Tortillas lies in the ingredients. Each component plays a vital role in creating that ideal texture and flavor combination. The simplicity of these pantry staples is what makes this recipe so approachable.
- 3 cups all-purpose flour: This is the cornerstone of the recipe, providing the structure and chewiness. It’s important to use a good quality flour for the best results.
- 1 teaspoon baking powder: This lightens the dough slightly, helping it to puff up while cooking, creating that soft texture we all love.
- 1 teaspoon salt: Salt enhances the flavors and ensures the tortillas are well-seasoned.
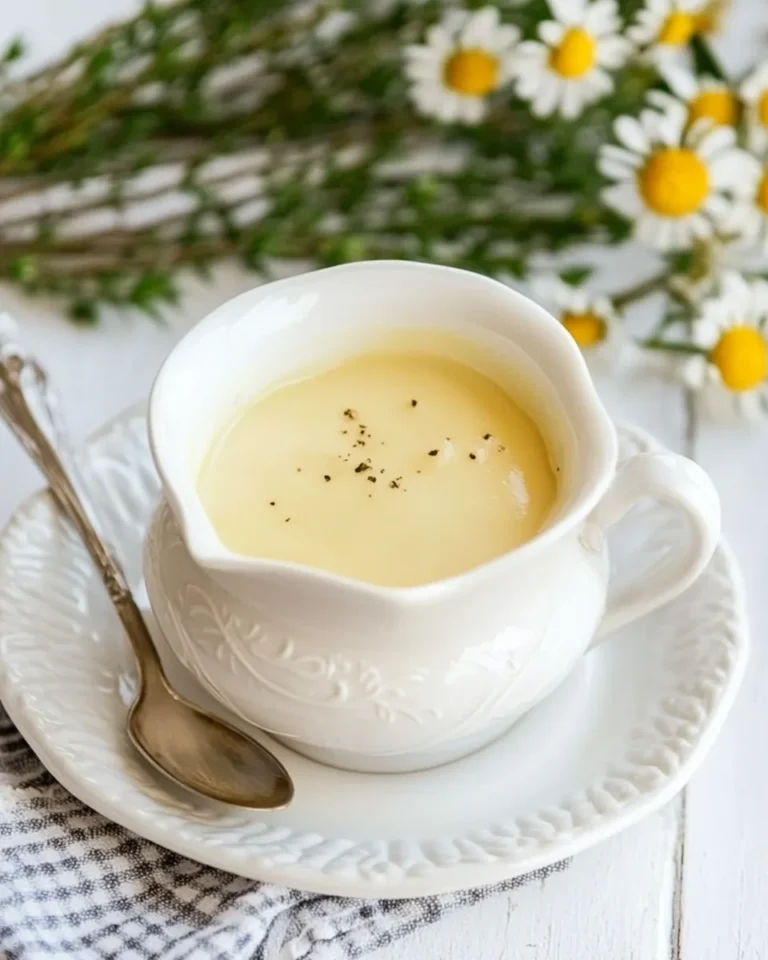
- 1 cup hot water: Hot water helps to hydrate the flour effectively, resulting in a more pliable dough.
- 1/3 cup vegetable oil: This adds richness and a bit of moisture, ensuring the tortillas are not too dry.
Let’s Make Flour Tortillas
Ready to dive into the world of Flour Tortillas? It’s easier than you might think! Follow these detailed steps, and you’ll soon enjoy the warm, comforting taste of homemade tortillas.
- Start by whisking together the all-purpose flour, baking powder, and salt in a large bowl. This step is crucial as it evenly distributes the ingredients, ensuring a well-mixed dough.
- Next, make a well in the center of the flour mixture. Gradually add the hot water and vegetable oil to the well. You’ll want to mix these together with a fork or your hands, ensuring the water absorbs the flour.
- Once the mixture has formed a shaggy dough, use your hands to bring it together. The dough should feel workable but slightly sticky; this stickiness is key for soft tortillas. If it’s too dry, add a bit more water, a teaspoon at a time.
- Turn the dough out onto a lightly floured surface. Knead it for about 2 to 3 minutes until it becomes smooth and resembles a soft, Playdoh-like ball. This helps develop the gluten, which gives the tortillas their chewy texture.
- Now, divide the dough into 8 equal balls for larger tortillas or 9 for smaller ones. I like to roll them into balls between my palms; it’s a satisfying process!
- Flatten one ball in your hands to form a thick disk. Lightly dust both sides with flour to prevent sticking and set them aside. Cover with a clean kitchen towel for about 10 minutes to rest.
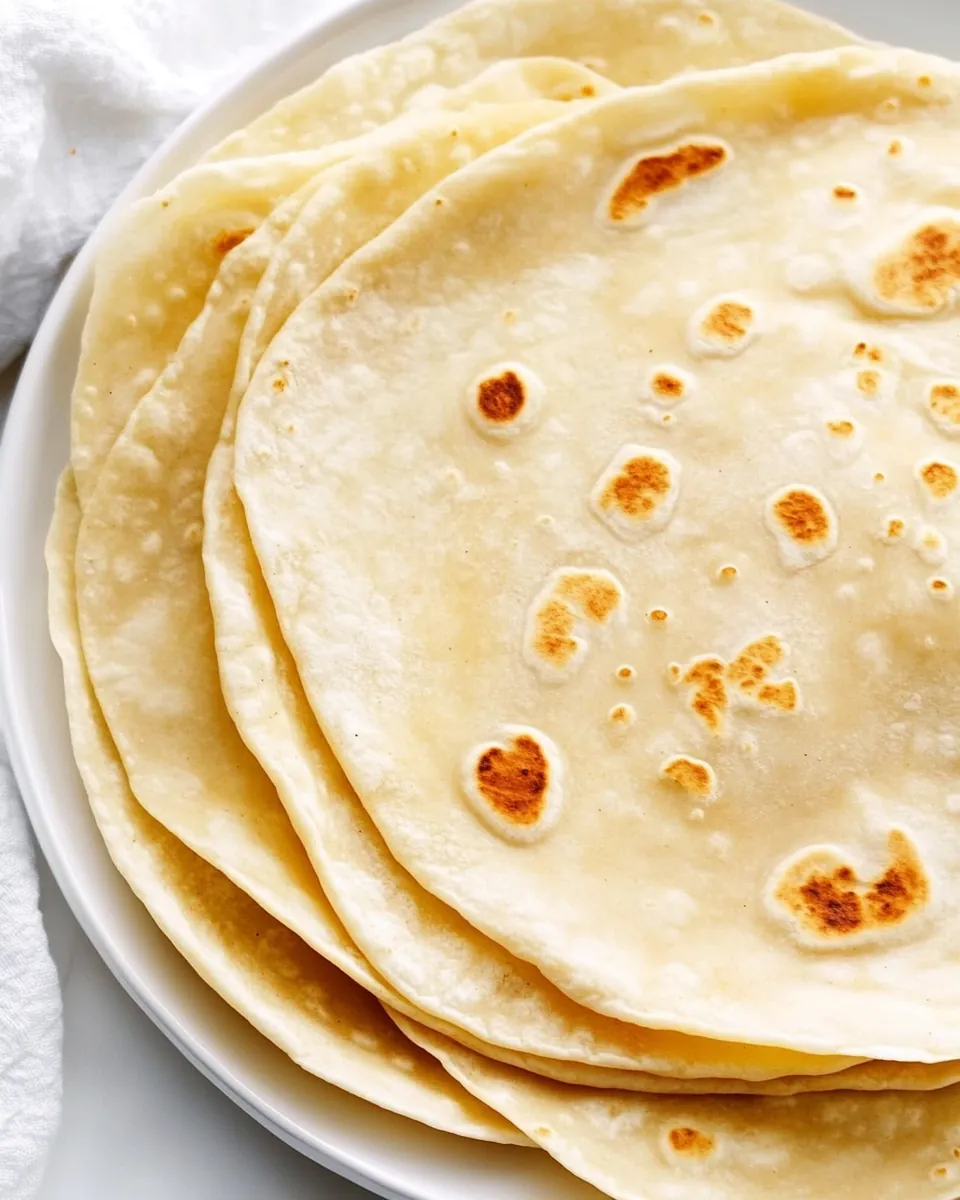
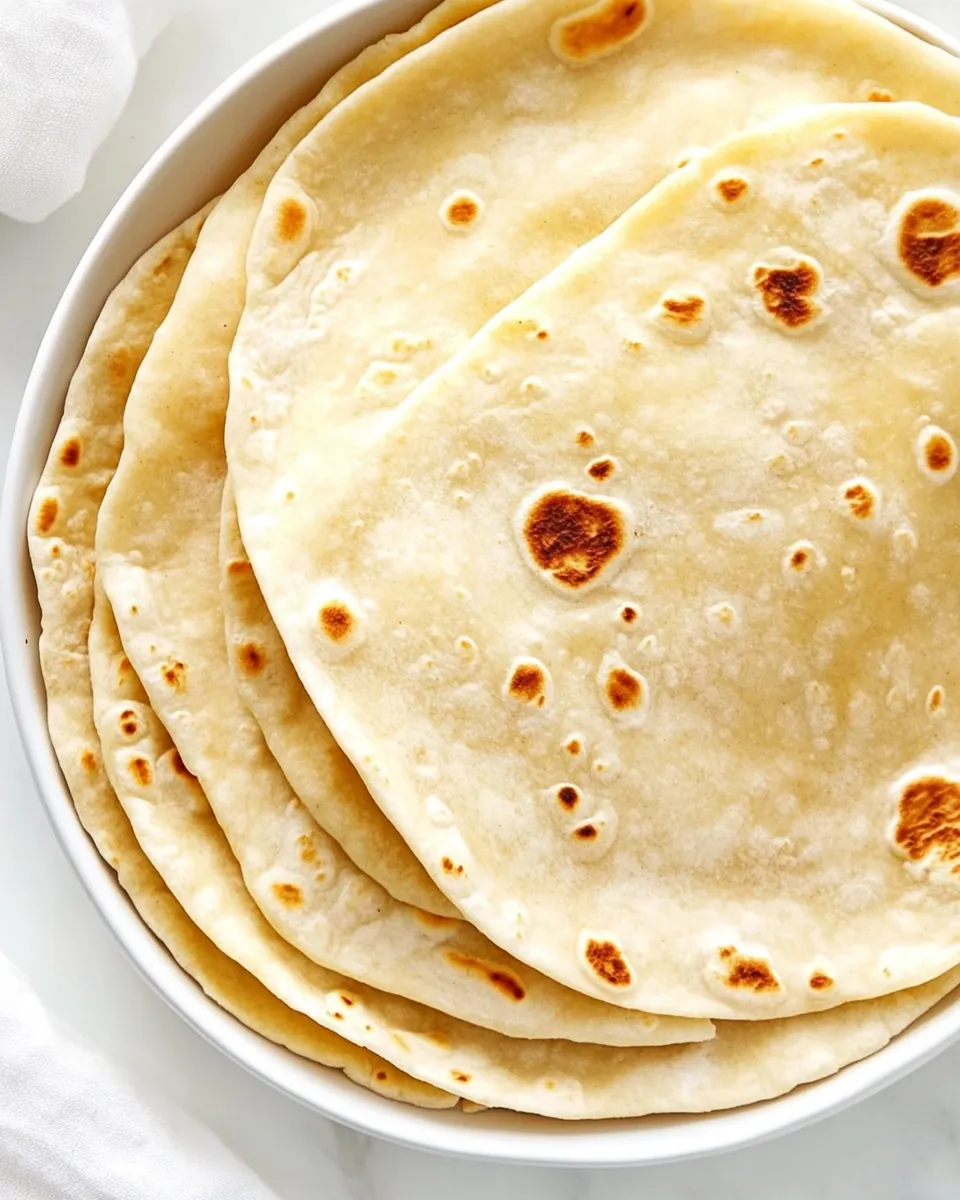
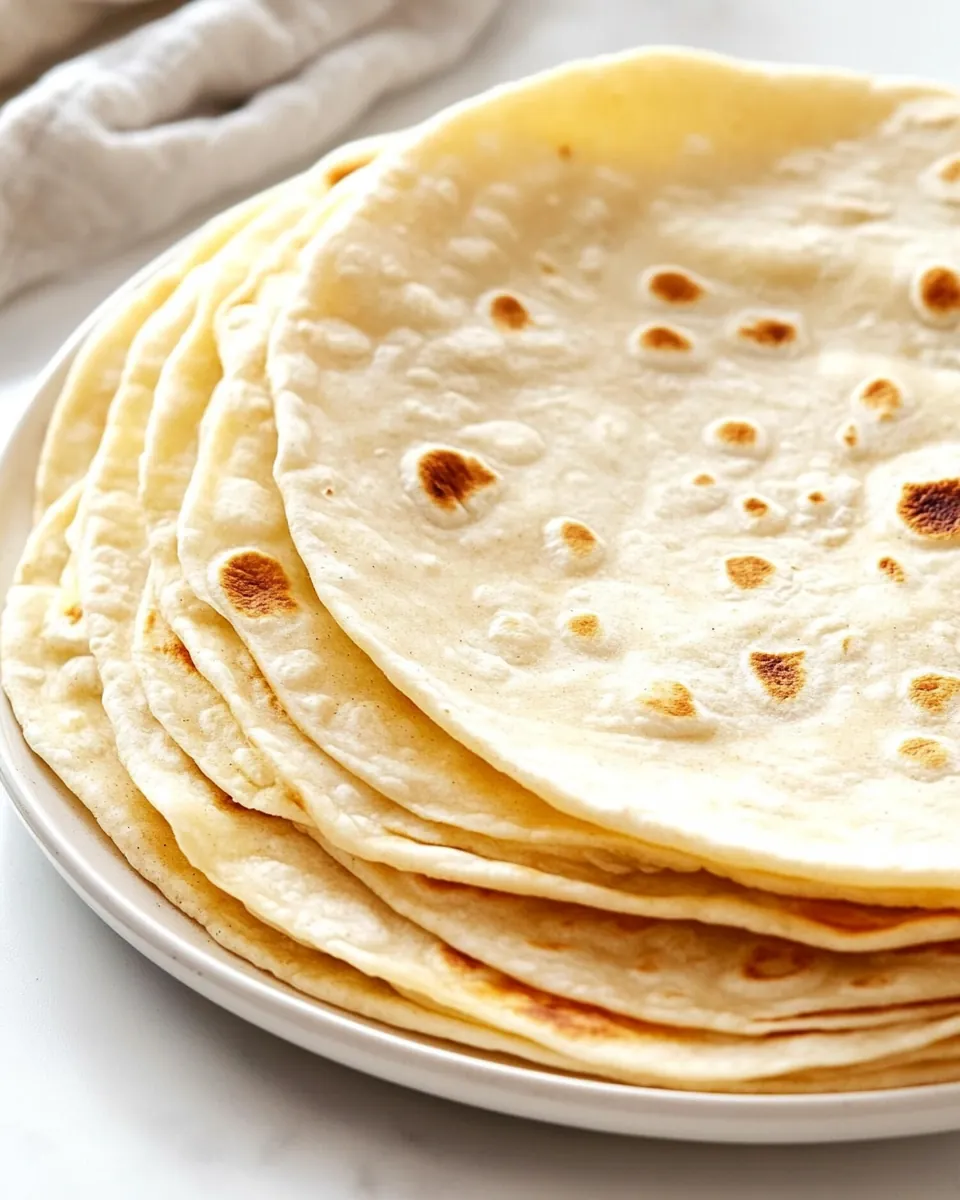
- While the dough rests, heat a nonstick pan over medium-high heat. It’s essential that the pan is hot; this is what will give your tortillas those lovely golden spots.
- Now, take a rolling pin and roll out one piece of dough to an 8 to 9-inch circle, about 2mm thick. Don’t worry about perfection; the rustic look adds to their charm!
- Carefully place the rolled-out tortilla in the hot pan. Cook for about 1 to 2 minutes, until it sets and lightly golden spots appear. Keep an eye on it; you want it to puff up slightly.
- Flip the tortilla and cook for an additional 30 seconds on the other side. You’ll notice it changes color and develops those beautiful brown spots.
- While the first tortilla cooks, roll out the next piece of dough. This multitasking keeps everything moving and prevents the tortillas from drying out!
- Once cooked, stack the tortillas on a plate lined with a clean tea towel. Wrap them up to keep warm and soft until you’re ready to serve the rest.
Expert Advice for Flour Tortillas
Making Flour Tortillas can be a delightful experience, especially with a few expert tips in your pocket. Here’s what I’ve learned over the years.
- Storage: Cooked tortillas can be stored at room temperature wrapped in cling wrap or in a ziplock bag for a day. In the refrigerator, they’ll last up to 2 days, keeping their freshness.
- Freezing: To freeze, let the tortillas cool completely. Place a sheet of parchment paper between each one, then wrap them in foil and transfer to a freezer bag. This way, you can enjoy homemade tortillas anytime!
- Reheating: When you’re ready to enjoy the leftovers, place a tortilla on a plate and cover it with a damp paper towel. Microwave for about 20 to 30 seconds to get that fresh, soft texture back.
- Variations: Feel free to experiment with different types of flour or add spices for a unique twist. Whole wheat flour can be an excellent substitute for a nuttier flavor.
- Serving Suggestions: These tortillas are perfect for burritos, tacos, or even as a side for soups and stews. Get creative!
Top Serving Choices for Flour Tortillas
Serving Flour Tortillas can be a fun and creative process! Here are some fantastic ideas on how to enjoy them:
- Tacos: Fill your warm tortillas with grilled vegetables, beans, or your favorite protein for a tasty taco night.
- Wraps: Create delicious wraps with veggies, hummus, or cheeses for a satisfying lunch or snack.
- Quesadillas: Layer your tortillas with cheese and your choice of fillings, then grill until the cheese melts for a melty treat.
- Chips: Cut the tortillas into triangles, bake or fry them, and serve with salsa or guacamole for a crisp appetizer.
- Breakfast: Use them to make breakfast burritos filled with eggs, avocado, and cheese for a hearty start to your day.
- Side Dish: Serve Flour Tortillas alongside soups or stews; they’re perfect for dipping!
- Seasonal Pairings: In summer, use fresh, bright veggies and grilled meats; in winter, pair with warming ingredients like beans and spicy salsas.
FAQ
Conclusion
Making Flour Tortillas is truly a special experience, filled with warmth and deliciousness. Their simple ingredients come together to create something magical that brings family and friends together. I encourage you to try this recipe and enjoy the delightful taste of homemade tortillas; it’s a journey worth taking!
Flour Tortillas
Ingredients
Equipment
Method
- Start by whisking together the all-purpose flour, baking powder, and salt in a large bowl. This step is crucial as it evenly distributes the ingredients, ensuring a well-mixed dough.
- Next, make a well in the center of the flour mixture. Gradually add the hot water and vegetable oil to the well. You'll want to mix these together with a fork or your hands, ensuring the water absorbs the flour.
- Once the mixture has formed a shaggy dough, use your hands to bring it together. The dough should feel workable but slightly sticky; this stickiness is key for soft tortillas. If it’s too dry, add a bit more water, a teaspoon at a time.
- Turn the dough out onto a lightly floured surface. Knead it for about 2 to 3 minutes until it becomes smooth and resembles a soft, Playdoh-like ball. This helps develop the gluten, which gives the tortillas their chewy texture.
- Now, divide the dough into 8 equal balls for larger tortillas or 9 for smaller ones. I like to roll them into balls between my palms; it’s a satisfying process!
- Flatten one ball in your hands to form a thick disk. Lightly dust both sides with flour to prevent sticking and set them aside. Cover with a clean kitchen towel for about 10 minutes to rest.
- While the dough rests, heat a nonstick pan over medium-high heat. It’s essential that the pan is hot; this is what will give your tortillas those lovely golden spots.
- Now, take a rolling pin and roll out one piece of dough to an 8 to 9-inch circle, about 2mm thick. Don’t worry about perfection; the rustic look adds to their charm!
- Carefully place the rolled-out tortilla in the hot pan. Cook for about 1 to 2 minutes, until it sets and lightly golden spots appear. Keep an eye on it; you want it to puff up slightly.
- Flip the tortilla and cook for an additional 30 seconds on the other side. You’ll notice it changes color and develops those beautiful brown spots.
- While the first tortilla cooks, roll out the next piece of dough. This multitasking keeps everything moving and prevents the tortillas from drying out!
- Once cooked, stack the tortillas on a plate lined with a clean tea towel. Wrap them up to keep warm and soft until you’re ready to serve the rest.
Notes
- Storage: Cooked tortillas can be stored at room temperature wrapped in cling wrap or in a ziplock bag for a day. In the refrigerator, they’ll last up to 2 days, keeping their freshness.
- Freezing: To freeze, let the tortillas cool completely. Place a sheet of parchment paper between each one, then wrap them in foil and transfer to a freezer bag. This way, you can enjoy homemade tortillas anytime!
- Reheating: When you’re ready to enjoy the leftovers, place a tortilla on a plate and cover it with a damp paper towel. Microwave for about 20 to 30 seconds to get that fresh, soft texture back.
- Variations: Feel free to experiment with different types of flour or add spices for a unique twist. Whole wheat flour can be an excellent substitute for a nuttier flavor.
- Serving Suggestions: These tortillas are perfect for burritos, tacos, or even as a side for soups and stews. Get creative!